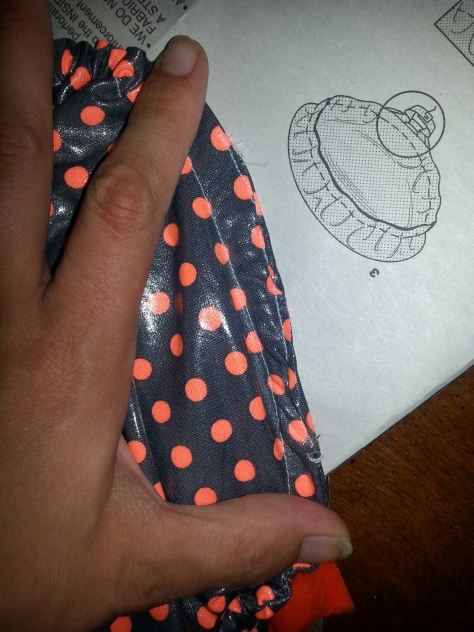
Elastic waistband, another way

Hello sewing lovers! I am going to write about elastic waistbands today. When I started sewing a few years ago I found it very simple to sew the waistline of my project and slip in the elastic with a clothespin. I linked my first blog that featured adding elastic to your waistband. 

This way of doing elastic is easy, but it’s time for me to learn some more technical ways of adding it . So now I want to sew the elastic directly to the fabric. Actually, I will be sewing it three times to the fabric. But that I will visualize with pictures later on.

Supplies:

 1 inch Elastic measured and sewn

Pants or skirt project ready to add elastic. 

Sewing machine

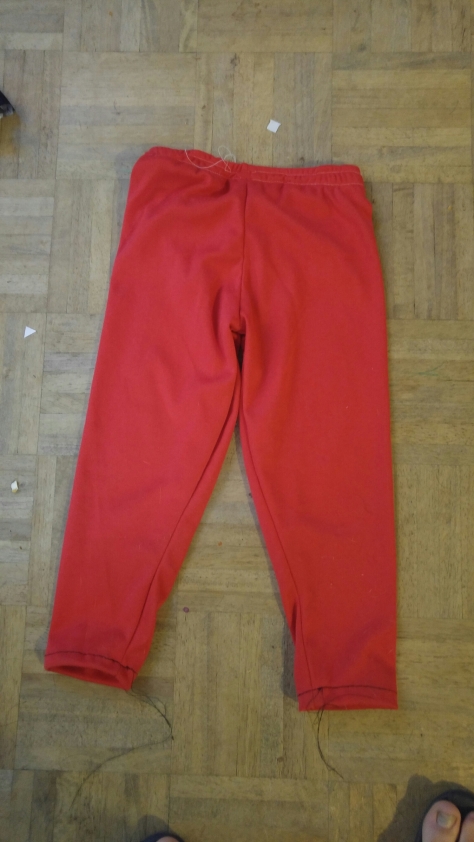
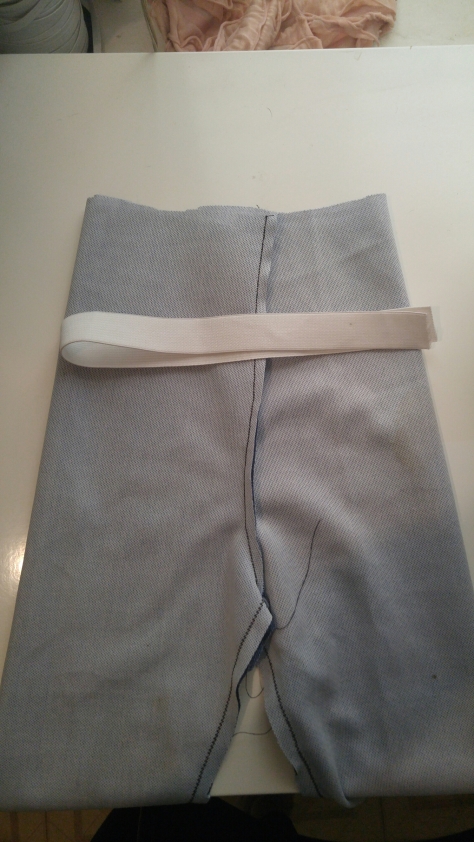
In this picture I have some leggings I’m making, the are probably a 2 or 3t. T is for toddler, by the way, just in case there are readers without children 😉. The average waist measurement for a 3t is 21 inches so I cut the elastic to 20 inches for a snug fit. 

Next, I pinned the elastic to the wrong side of the fabric. Leave a quarter inch of fabric at the top to fold over the elastic. This first line of fabric will make or break the esthetics of your waistband. The elastic needs to be smiling with the fabric. And it leaves little room for error. I got 6 inches on those above pants and sewed right off the elastic without knowing. Now those pants are with the other errors on the couch waiting to be taken out with a seam ripper.

So I tried again on another set of pants for Miles. I recently started these BC I thought they would be super handsome on him, but looking at the color again without my mom goggles on and he is just going to ruin them the first day. See picture below to understand the irony of my life… 

Anywho, they will be handsome on him for five minutes, I will save them for picture day. Moving on, I tried the first step again. This fabric moves a lot BC it is so soft, so I moved slowly. 

Sew the elastic to the wrong side of the fabric. Leave a quarter inch to fold over the elastic.

Once you sew the first line then fold the waist line inward and so again at the bottom. Be careful to keep the slack to a minimum.

Once you sew one side of your waistband sew the other. It makes it more stable. If you’ve ever noticed gym shorts  have the same concept.

My mistake with these pants is that the fabric is too thick and warped the elastic. it turned out to be 3 inches too big compared to some pants that actually fit Miles. So my tip using this way to attach your fabric is to use thin  fabric, otherwise stick to the other option I wrote about last year. I included a link at the beginning of this post. 
Thank you for reading and sew happy! Click like if you found this helpful 😉
Sewing with ruffle fabric and my mistakes 😁

Ruffle fabric is very cute but I’m learning to sew with it on my own and it’s just not working with me. I can’t get the ruffles to stay uniform and lay flat when I’m sewing small hem lines. Also, to hem the ruffles is disaterous. It just doesnt look good.

I have sewn with the ruffle fabric before. I made some blankets for some new babies I know. Now it was difficult to get the ruffles all pointing to in the same direction and I thought I was being careless. To prevent that I would be more diligent and went to buy more fabric 😉.

 So, I bought a light vintage pink and I thought these would make the cutest diaper cover. The ruffles are already apart of the fabric, win, right? No…

So as you can see above the right does not match the left. I tried to compensate without pinning the fabric, but that’s was my first mistake. I also think I may need to use another fabric for the hem line altogether. But for right now I’m going to consider this one a new baby doll diaper cover for one of my niece’s. 

So all I will need to do is finish the other leg hole and hem the top. I’m going to leave enough room to fit 1/4 inch elastic inside.

Another area I messed up in was not cutting more length from top to bottom. You need a lot of surface area to cover the diaper. It adds like two inches to every measurement. 

I think that making a blanket with this fabric is easier than baby clothes. Another simple project this fabric is good for is a woman’s skirt. It has stretch and the hem lines would be easy. 

I will post a picture of my finished baby doll diaper cover (that’s too much name going on) when it’s finished. 😎😉 Thank you for reading.
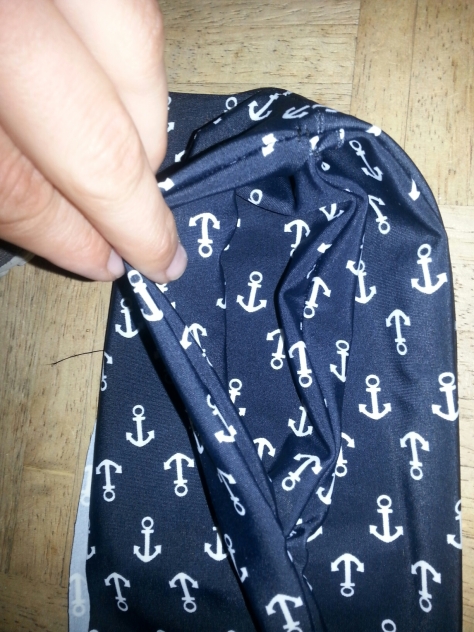
Update: to finish the diaper cover I had to trim the sharp edges around the leg holes.

And her is the finished result! 

Im baby sitting this friday, and will get a pic of it on an actual baby. I want to see if I cut this out correctly, cutting you project right is essential! Thanks again for reading and comment below with your own experiences. I would love to hear from you! Happy sewing!

Pirate costume for Miles

Halloween is less than a week away. Time to get the costumes ready. My son has requested to be a pirate. Argh! 

My first step is to go threw my existing fabric to see what I can use. No need to buy anything just yet. 

Supplies:

Black and white striped fabric(for shirt, any stripes will do honestly)

Red or black fabric for pants. 1/2 yard each

Scissors

Sewing machine

Pirate hat

1/4 yard contrast fabric 

Boots
 So I went through my husband’s old costumes and found an old prisoner costume, a simple black and white stripes. I cut the pants up using one of miles’ shirts. I sewed the shoulder seams and the under arm/ side seams. 

I cut the edges like jagged triangles. I did the same with the neck seams. If you wanted to go really simple, buy a white tee and cut these same jagged edges. Simple pirate tee without sewing. 

I found some red fabric remnants and used miles’ pants as a pattern. I cut them a little bigger so that they would be a little baggy. I have a simple tutorial on pants if you need this as a picture reference. 

My husband suggest cutting the legs like the shirt but I haven’t decided. If you are near warm weather this would be fine but if it’s cold outside these pants would be better. 

I did something different with my elastic waistband this time. I think its a better way to secure the elastic and you could engineer it to include a draw string if you wanted. First i sewed the elastic band together ( normally I do this last.) Then I sewed the edge of the pants while I stretched out the elastic to be taught with the fabric. Sew the elastic to the wrong side of the pants and be careful not to over stretch. Then I folded the elastic inside and used the technique to sew it with two lines on the inside. I used a straight stitch on all three lines. 

I bought a pirate hat at my local party city. They had 20 dollar hats and 5 dollar hats. I went with the 5 dollar hat, BC I could not rationalize 20$ on a hat. Even five dollars is a little pricey for me but my kid will play with it well past Halloween. 

Here he is in his costume minute the hat BC he didn’t really want to wear it. Darn three year olds…

Share your day costumes with me! Comment below or go to my Facebook page! Thesewingsister

Creativity challenge

I go through periods in my life where I craft and sew like crazy and then life hits me and I can’t touch a creative project for months. So recently I promised myself to craft or sew everyday. I started a craft night and the first one was small but awesome! 

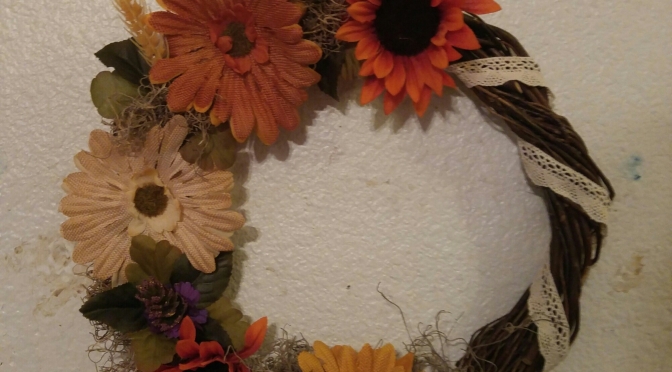
Wreath by April

Wreath by Kira

Wreath by Amanda

And finally my creation

Most everything we got was front the dollar tree and didn’t cost much. We used hot glue guns to connect most of our flowers and such. 

What I really loved was coming together as a group. I usually create by myself and try to show people after the fact. This was very rewarding and I plan to do it again and again. I recommend it to others who get joy out of creating anything. 

We are many things and it’s always good to concentrate on people and things that you love every once in a while. I live a busy life with a young kid and a busy husband, my life gets wrapped up in making sure my loved ones are healthy. I can’t miss out on showing them that passions you love need concentration. Find things you love and explore them. Don’t worry if they are short lived because they are a window to more wonderful things. 

I plan to write about more diverse things than sewing soon. ( I will always have a lovely tutorial for sewing available) So let’s create! Show me things you’ve made with your friends or family! 


This is my son’s key holder we made at the local educational  toy store. Lakeshore has craft time every Saturday in casselberry.

Up-cycle damaged boots

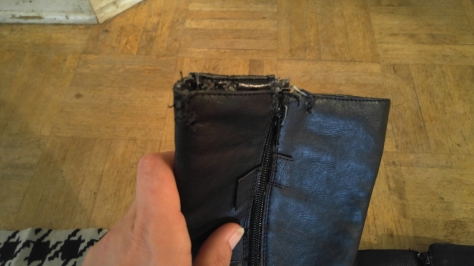
Welcome to my blog! Today I wanted to do an up-cycle BC they are awesome for your budget! My sister in law gave me these children’s boots that her dog chewed up. She figured I could try to fix them or what I call an up-cycle!

So the damage was minimal, and can be covered easily. What’s even better this is a no sew fabric project.

Materials:

  • Boots
  • 1ft of fabric
  • Fabric glue
  • Paper clips
  • Scissors

The first step would be to measure how much fabric you need to wrap around the boot from zipper to zipper. 

I stitched the bottom on my fabric, on the longest side. But using the glue would work as well. Everything you glue it needs to sit for 2 to 4 hours to dry. Before you glue the next section. 

Now, before you attach the fabric with glue make sure to sew or glue the bottom seam. This seam is one of three visual seams. I will show you how to make it aesthetically pleasing.

Next, I glue to one side to the zipper area. I left and inch and a half on the top to stuff inside the boot. 

After a few hours I glued the otherside of the zipper. Yay, we are almost there! I used clips to hold down the freshly glued side so it would stay until it’s dry. 

Another few hours later…it’s time to glue the top and then it’s finished. 

I put a healthy amount of glue on the top inch of boot. Be careful to avoid the zipper in all steps of glueing, because then it will be hard to get it to fully close.  I only had enough clips to do one boot at a time.  

And here is the finished product. Would have been a shame to throw these away!

DIY Sunflower garden

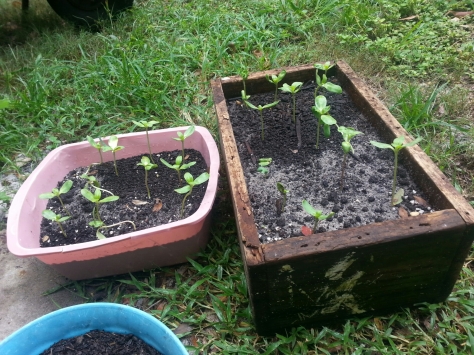
It was a little late in the season to be planting sunflowers, but its Florida and I  think we might have enough time. I will gi over step by step how I have grown them until transplanting them into the ground. Hopefully,  mine survive the transplant and I will be able to update a few weeks from now with flowers!

Supplies:
Sunflower seeds
Dirt- cow manure compost is what I used in the pots and transplant process.
Post digger
Gloves

I started by putting the sunflower seeds in damp toilet paper. Three days later I had over twenty seeds germinate. Toilet paper will easily degrade in the potting soil if it gets stuck to the roots.

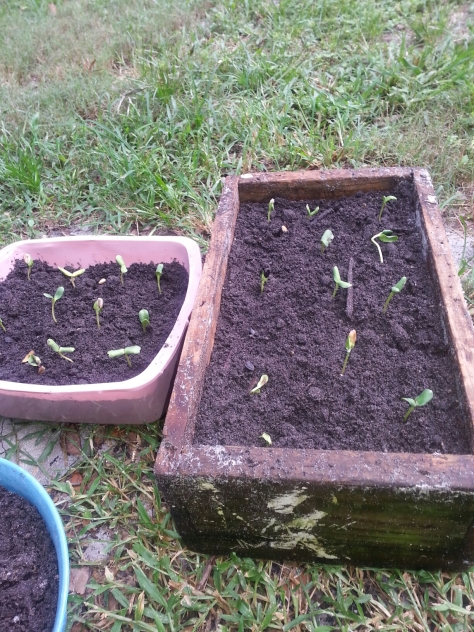
After, about three days they sprouted and we ready to be put in a pot. They don’t have to be deep holes you want the plant to have the leaves upright. Fill your pot with compost and space the plants 3 inches apart. Water them when your done.

image

Two weeks later, I noticed the leaves were being eaten by a little green catipiller. Best thing to do is find them and kill them. They curl up in the leaves sometimes.

image

They took to the pots pretty well!

image

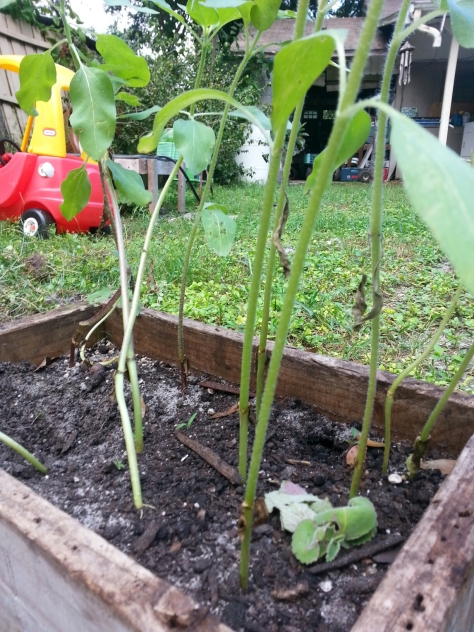
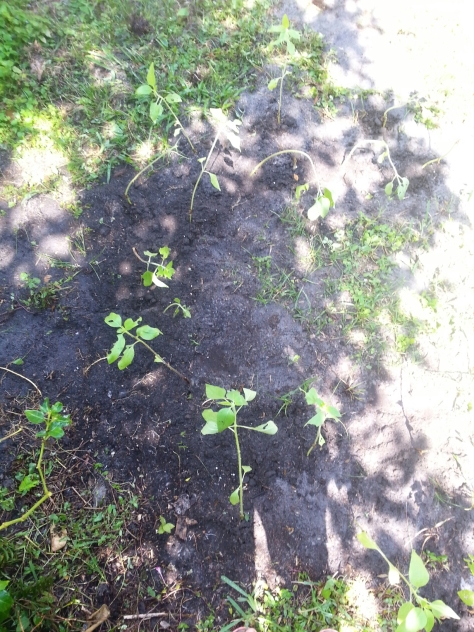
They grew in the pots for about three weeks before I transplanted them  to the ground. My husband, to whom the compliments should go, helped me with every step of this project. He has a green thumb to say the least. He has a way with plants that’s for sure!.
image

image

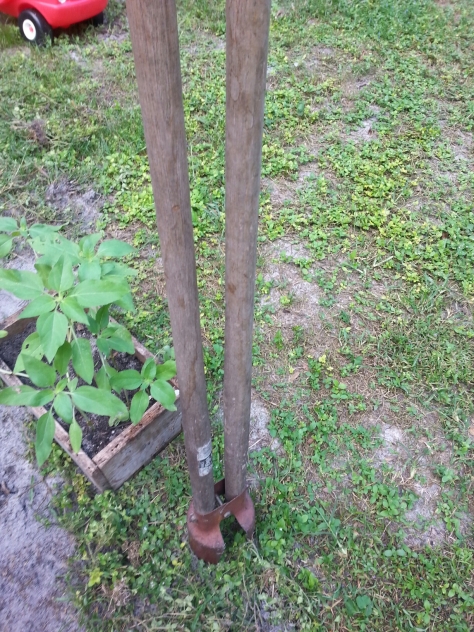
After the stump of the plant grew to a pencils thickness, I used a stump post to dig holes for each plant. Then I weeded the area so the sunflowers would not have competition. Then I filled the holes with compost and mixed it with ground dirt in the hole. Retrieve each plant carefully by picking it up beneath the roots. Be careful not to rip the roots off. The more roots you can selvage the better chance of surviving transplantation.

image
Hopefully, they live! I will post another picture next week.

Leggings with waistband pocket

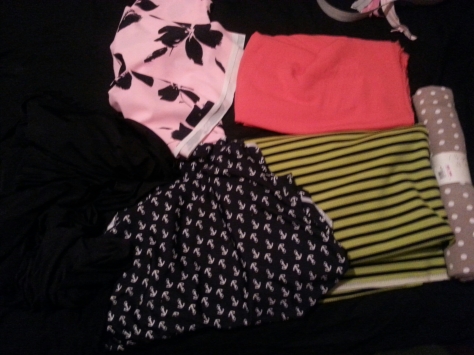
There is a pile of trendy lycra at threw studio that I managed to find some awesome anchor print.

image

I got other fabrics too! Not that I needed them. :/

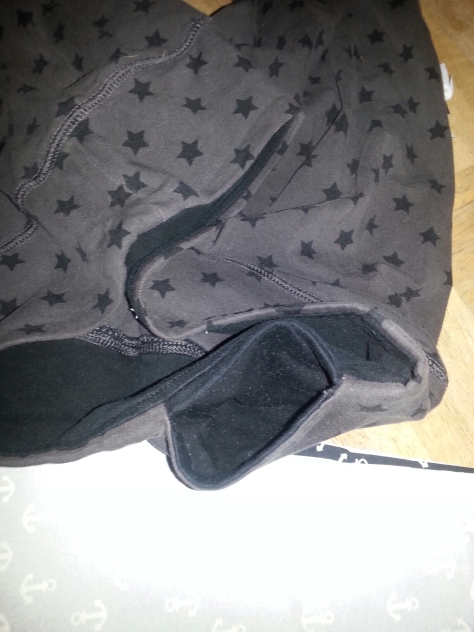
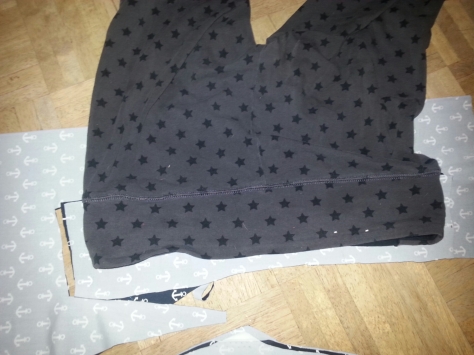
I decided to make some leggings, but with a waistband and pocket in the waistband. I have an existing pair of leggings that I will use as a pattern.

image

There is the pocket I tried to recreate.

image

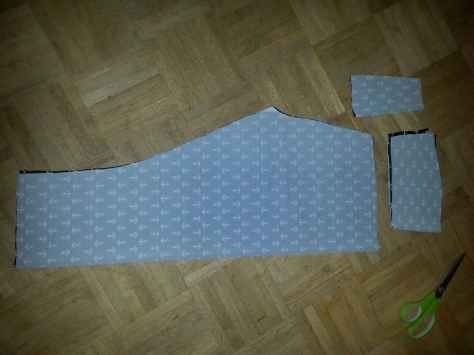
I cut the legs and waistband. I realized I want the waistband to be nice and stable, so, I cut another waistband to use as a

image

lining.

I added an inch for seam allowance for all my cuts.

The first part I sewed was the crotch and then the legs. You can read my previous blog for these steps with pictures.

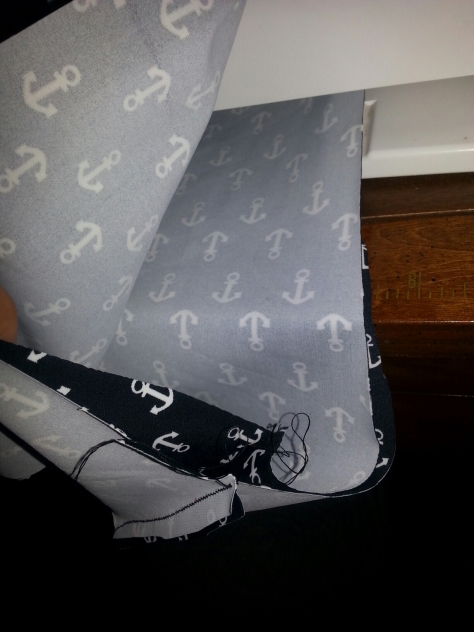
I sewed the ends of the waistbands and put the right sides together.

image

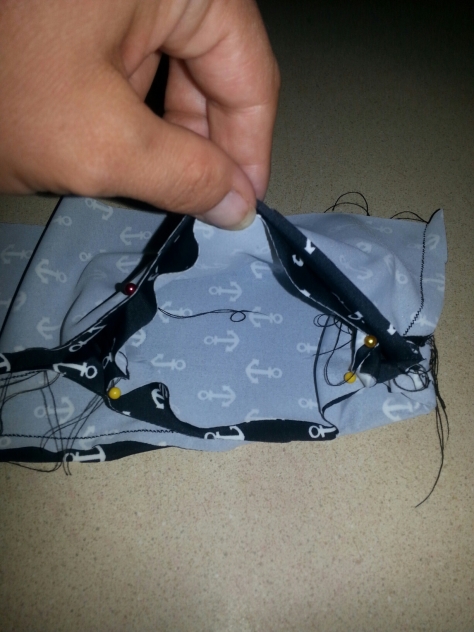
I used a stretch stitch on this entire piece. Using that stitch, I sewed along the top of the waistband.  I left an opening big enough to fit the pocket. Then I pinned the pocket to the opening.

image

I stitched along the perimeter of the pocket, making sure no to catch fabric from another area.

image

This is what it looks like, right side out.
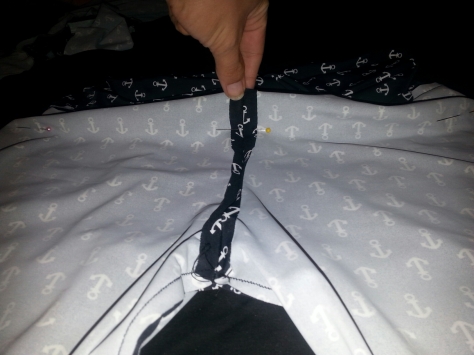
I pinned the waistband to the right side of the pants. I had to stretch the waistband as I sewed. The waistband was smaller than the pants opening so that I got a snug fit in the waist. I didn’t take in account that there was too much fabric bunching in the crotch area.

To fix this I pinned the excess fabric in place and tried to stitch a straight line across the front of the pants. It works like a dart.

image

I took about 2 inches off the front of the pants. This is a handy tip when you are upcycling clothing or if you make something too big.

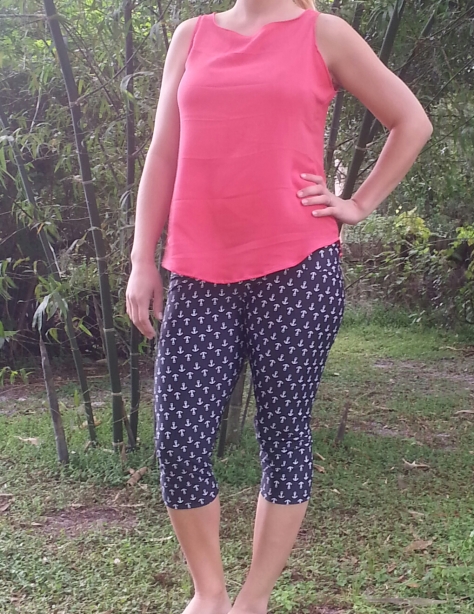
This is how I styled my pants today!

image

Thank you for reading!

Simplicity pattern 1236: bowl covers

Today, I am going to make bowl covers. Bowl covers are very simple and can be done in just a few minutes. Maybe, I wont buy seran wrap anymore. This could be a cheap present or something to sell.

Supplies:
Vinyl fabric (it has a glossy side and a fabric side)

image

Scissors
1/4 inch elastic
Sewing machine
Safety pin

image

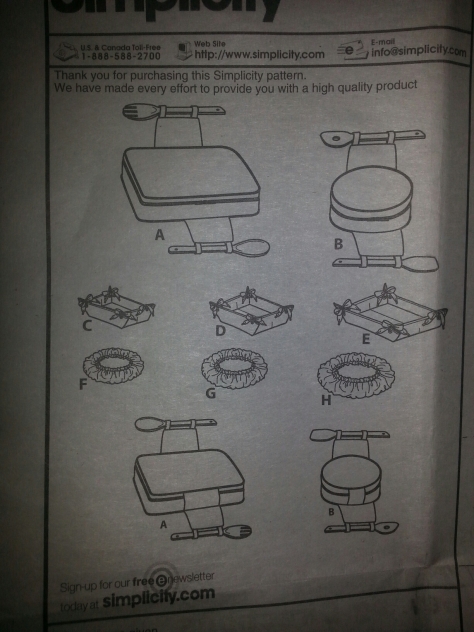
The pattern is simple and straightforward. There really isn’t a way for me to $#@ this one up.

image

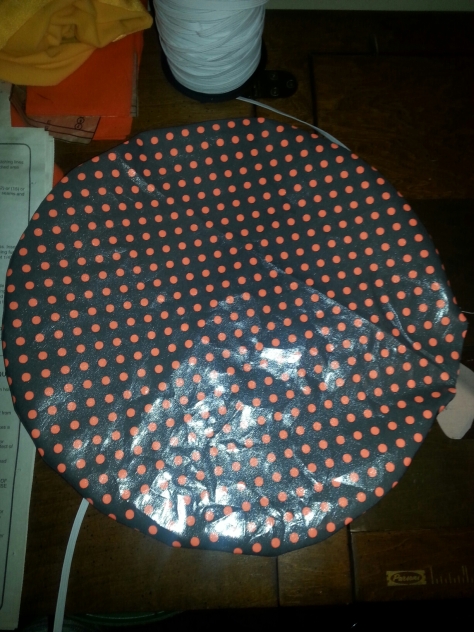
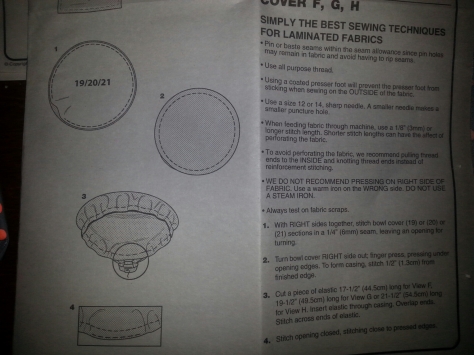
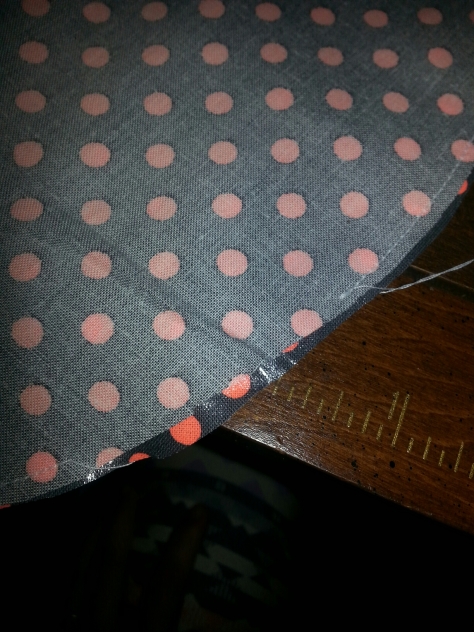
I cut two circles of the vinyl fabric. Next, with right sides together (glossy side) sew along the perimeter leaving 1 1/2 inch open to pull it through.
image
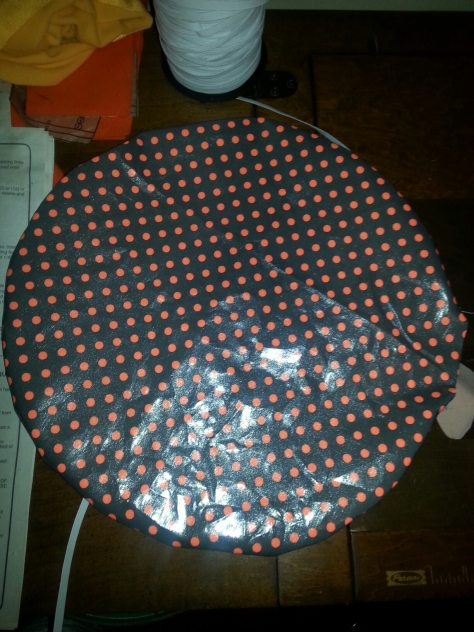
I trimmed the edges pretty close to the stitching. I turned it right side out and smoothed the edges.
image
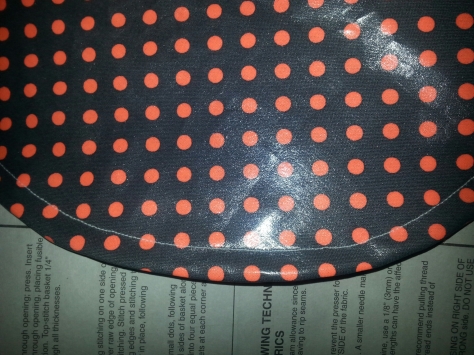
Then I sewed 1/2 inch from the edge following the perimeter.
image
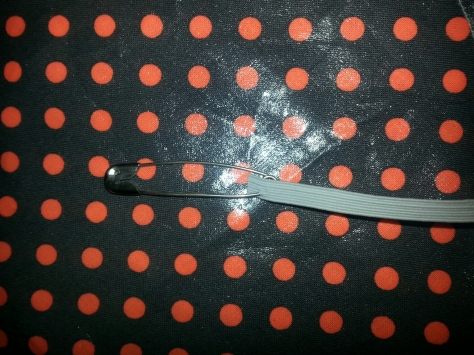
The pattern for this size bowl cover requires 21 1/2 inches of quarter inch elastic. I attached the saftey pin to the end of the elastic and pushed it through the opening in the fabric.
image
Once I pulled the saftey pin through the other end, I sewed the ends together. Now closing the opening is going to be hard, mine was not very pretty.
image
I don’t think anyone will notice though.

You don’t need this pattern to make these either. All you have to do is take a bowl and trace around it to get your pattern. I suggest adding 3 inches in size to your bowl, so, that it will cover the bowl. Once you have cut your circles, follow the steps above and you have bowl covers!

Thanks for reading!