Hello sewing lovers! I am going to write about elastic waistbands today. When I started sewing a few years ago I found it very simple to sew the waistline of my project and slip in the elastic with a clothespin. I linked my first blog that featured adding elastic to your waistband.
This way of doing elastic is easy, but it’s time for me to learn some more technical ways of adding it . So now I want to sew the elastic directly to the fabric. Actually, I will be sewing it three times to the fabric. But that I will visualize with pictures later on.
Supplies:
1 inch Elastic measured and sewn
Pants or skirt project ready to add elastic.
Sewing machine
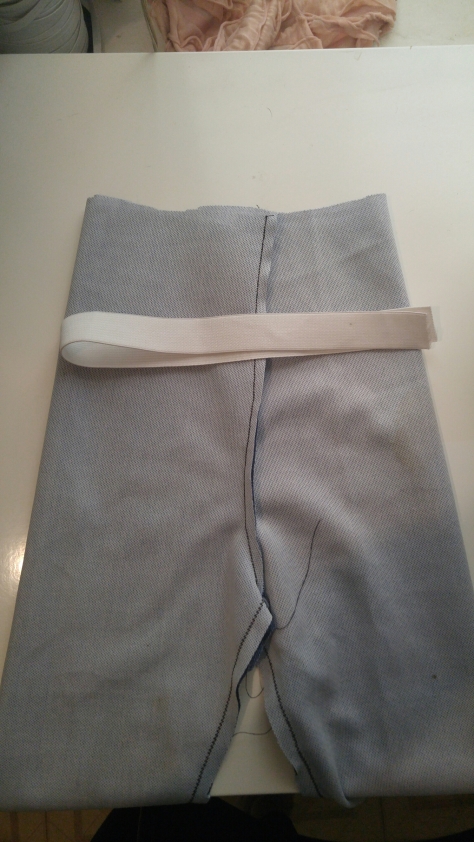
In this picture I have some leggings I’m making, the are probably a 2 or 3t. T is for toddler, by the way, just in case there are readers without children 😉. The average waist measurement for a 3t is 21 inches so I cut the elastic to 20 inches for a snug fit.
Next, I pinned the elastic to the wrong side of the fabric. Leave a quarter inch of fabric at the top to fold over the elastic. This first line of fabric will make or break the esthetics of your waistband. The elastic needs to be smiling with the fabric. And it leaves little room for error. I got 6 inches on those above pants and sewed right off the elastic without knowing. Now those pants are with the other errors on the couch waiting to be taken out with a seam ripper.
So I tried again on another set of pants for Miles. I recently started these BC I thought they would be super handsome on him, but looking at the color again without my mom goggles on and he is just going to ruin them the first day. See picture below to understand the irony of my life…
Anywho, they will be handsome on him for five minutes, I will save them for picture day. Moving on, I tried the first step again. This fabric moves a lot BC it is so soft, so I moved slowly.
Sew the elastic to the wrong side of the fabric. Leave a quarter inch to fold over the elastic.
Once you sew the first line then fold the waist line inward and so again at the bottom. Be careful to keep the slack to a minimum.
Once you sew one side of your waistband sew the other. It makes it more stable. If you’ve ever noticed gym shorts have the same concept.
My mistake with these pants is that the fabric is too thick and warped the elastic. it turned out to be 3 inches too big compared to some pants that actually fit Miles. So my tip using this way to attach your fabric is to use thin fabric, otherwise stick to the other option I wrote about last year. I included a link at the beginning of this post.
Thank you for reading and sew happy! Click like if you found this helpful 😉


